
With our home tests, you can conveniently check your health from the comfort of your home. The process is simple and requires only a few steps. In this guide, we will walk you through the entire process – from preparation to sample collection and shipping.
Simply follow the instructions below to obtain reliable results and keep track of your health.
Probatix provides sample collection and submission materials for a laboratory test to determine specific biomarkers in human capillary blood. The sample is analyzed in specialized and accredited diagnostic laboratories.

Notes
→ Please read the instructions carefully and completely in advance. Please follow each step – do not skip any steps!
→ Bring the blood sample to a branch of Deutsche Post on the day of collection (only from Monday to Wednesday, no mailbox drop!). Until shipping, please store the sample in the refrigerator.
→ Drink enough water beforehand and avoid coffee and sugary drinks to facilitate blood flow.
→ The marking is easily readable from the inside, if in doubt, the label can be slightly scraped. Please ensure that the barcode remains intact!
→ The test is intended only for persons over 18 years of age.
→ The test should only be conducted after consultation with the treating physician if:
- You are pregnant or breastfeeding .
- suffer from a congenital or acquired blood clotting disorder.
- take anticoagulant medications.
→ Do not take a test if you suffer from a blood-borne disease, such as z.B. Hepatitis or HIV.
Preparation
Read the instructions on the back carefully in advance.
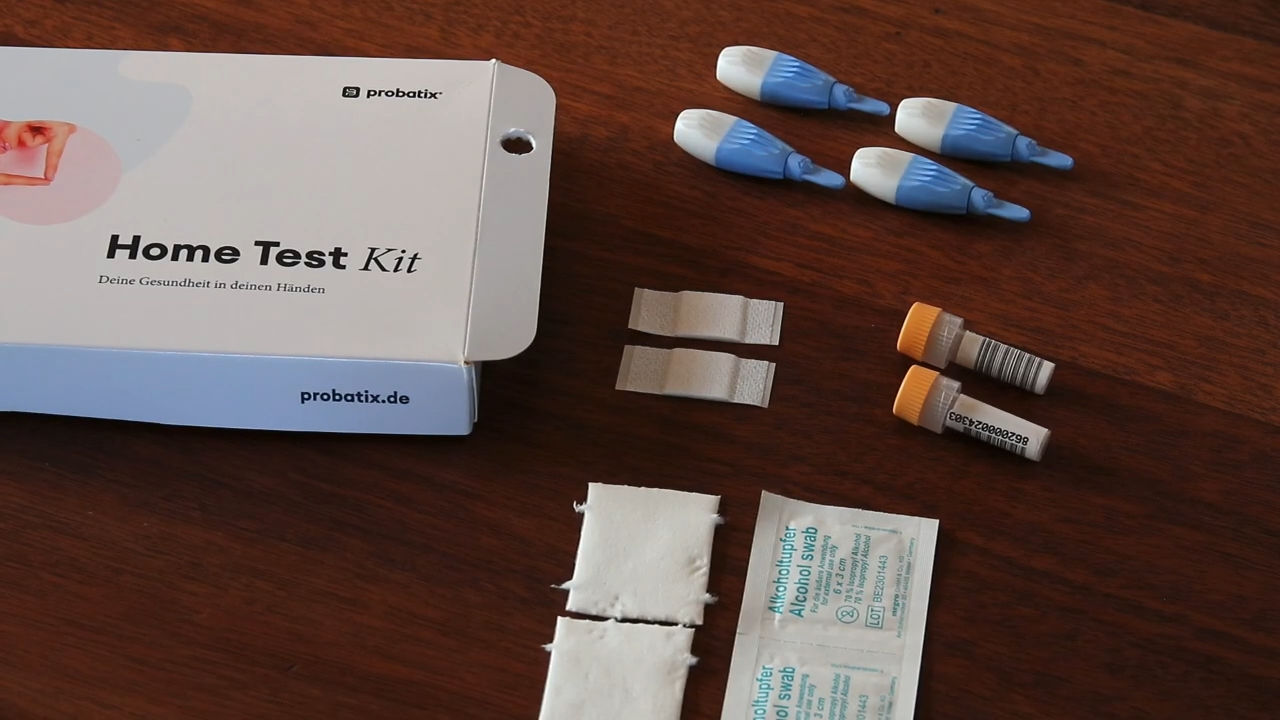
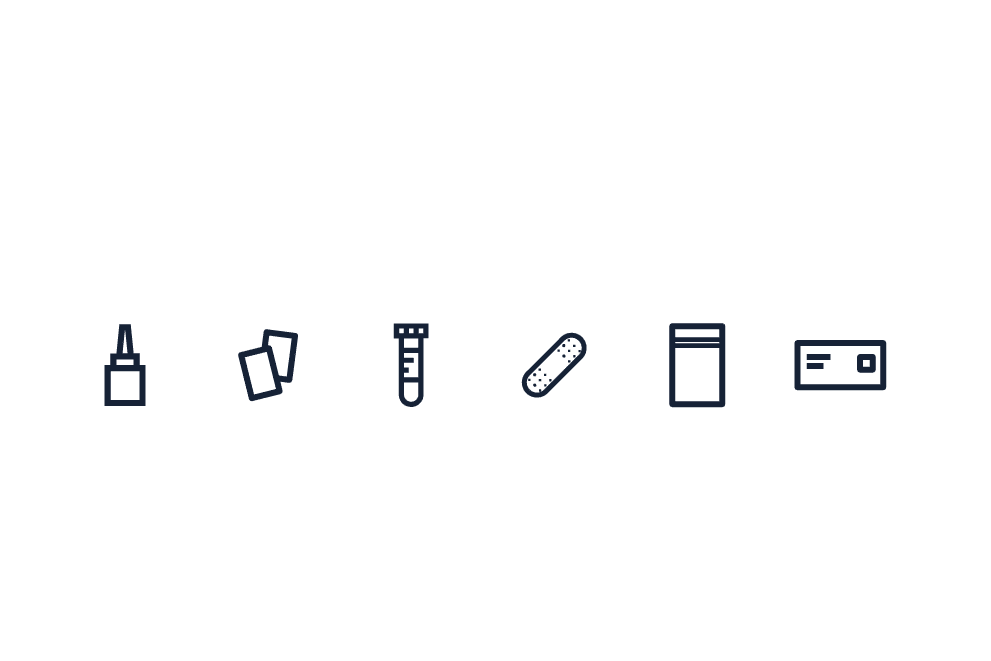
Prepare all materials for the test: blue-white lancets, gauze swabs, disinfection swabs, tubes, plasters, security bag, and shipping envelope.
Fill all tubes included in the test kit up to 0.5 ml.
Keep the box with the QR code on the inside of the lid.
Open the email ”Shipping confirmation and important information about your Probatix test”, you will need this later.
Execution
1.
Pull off the lid (do not twist) and place the tube in the designated cut-out (right flap) in the shipping box to prevent it from tipping over during blood collection.
2.
Stimulate blood circulation: Hold hand under warm water for at least 1 minute, dry off, rotate arm in circular motions at least 5-10 times.
3.
Disinfect the finger with the enclosed alcohol swab and let it dry briefly.
Tip: The middle finger is best suited.
4.
Hold the blue-white lancet horizontally, rotate the blue protective cover around its own axis and carefully (!) remove it.
Important: Never use the lancet without or with a loose protective cap.
5.
Place the hand palm up on a firm surface. Position the lancet on the center of the fingertip and pressfirmly. Wipe away the first drop of blood.
6.
Stand up and hold the hand diagonally downwards below heart level. Massage the finger lightly (!) from the palm to the fingertip .
Important: Do not squeeze the finger to avoid bruising. This can distort the blood values.
7.
Hold your finger over the tube and fill it (the tube's stripping aid can be used for this). Continue massaging the finger.
Important: If blood regenerates too slowly, start again with the second lancet and a different finger (Point 3).
8.
The extraction is complete when the 0.5 ml mark of all included tubes is reached. Tap the tube lightly on the table several times to allow the blood to flow.
9.
Then press the lid back onto the tube until you hear a "click" sound. Then gently shake the tube 2-3 times.
Important: If less than 0.5 ml, the sample is not evaluable. The marking is clearly visible from the inside; if in doubt, the label can be slightly scraped off. Please ensure that the barcode remains intact.
10.
Finally, treat the wound with a bandage.
Shipping
11.
Place the sealed tube in the transparent security bag into the back pocket with the silver band; remove the band and carefully seal the bag.
Important: Do not tear open the security bag!
12.
Place the transparent bag in the gray return envelope and seal it carefully.
13.
In the pre-opened email click on “Activate Test“, in the test profile so that the order can be sent to the lab and immediately send the envelope along with the sample by mail (do not use the mailbox).
Important: Please only send the sample from Monday to Wednesday.
The used materials can be disposed of in household waste.